Appearance
Onboarding as Self-Served Developer Developer
This workflow exemplifies the most common onboarding case: a developer with the permission to create workspaces, i.e. a self-served onboarding process. This is typically an "internal" developer with permissions to access resources associated with the project, e.g. containers, services, secrets, etc. These resources are set up by the project owner and self-served developers are able to configure a workspace's access control setting.
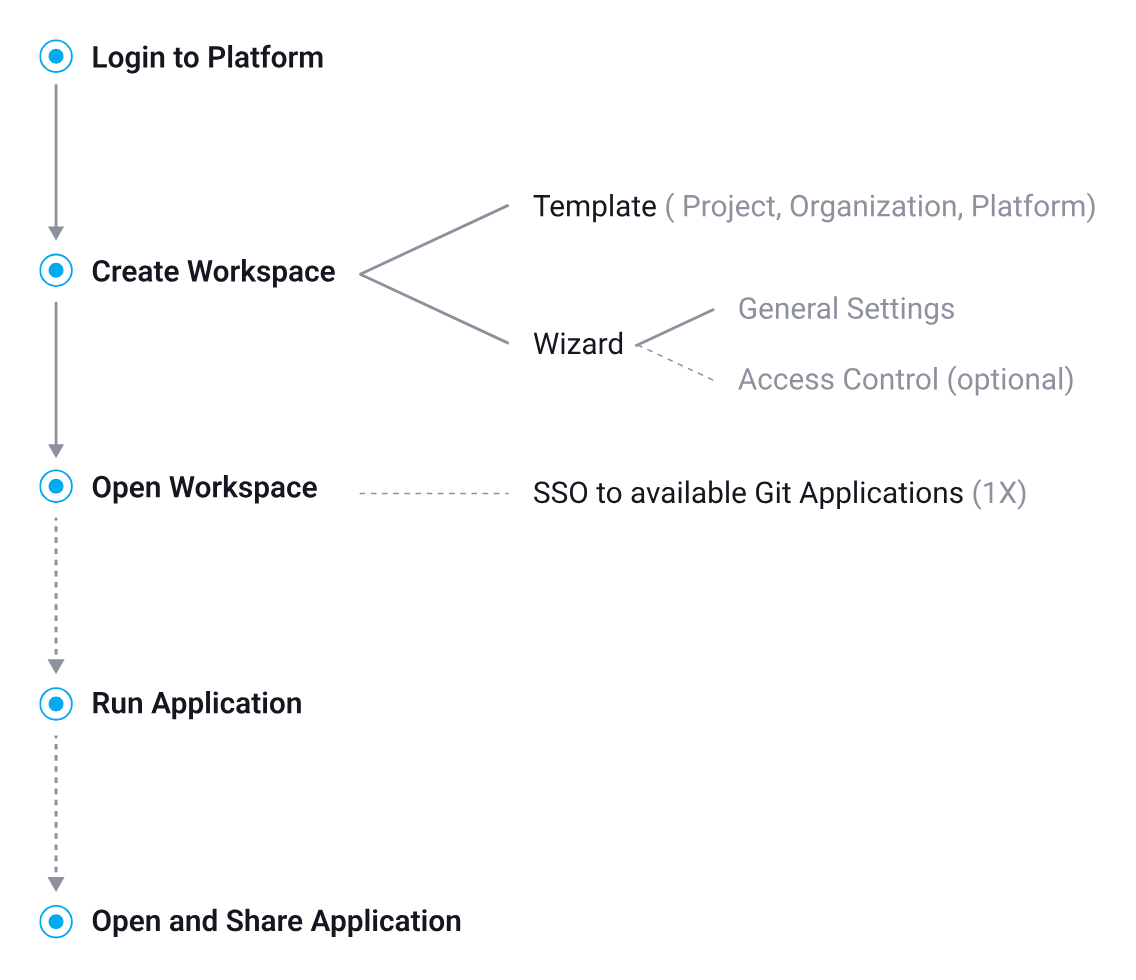
1. Log In & Create a Workspace
After logging in – having already been added to a project on the platform – the developer can independently create a workspace. This can be done using one of the pre-defined templates available on the platform or by following a guided setup process.
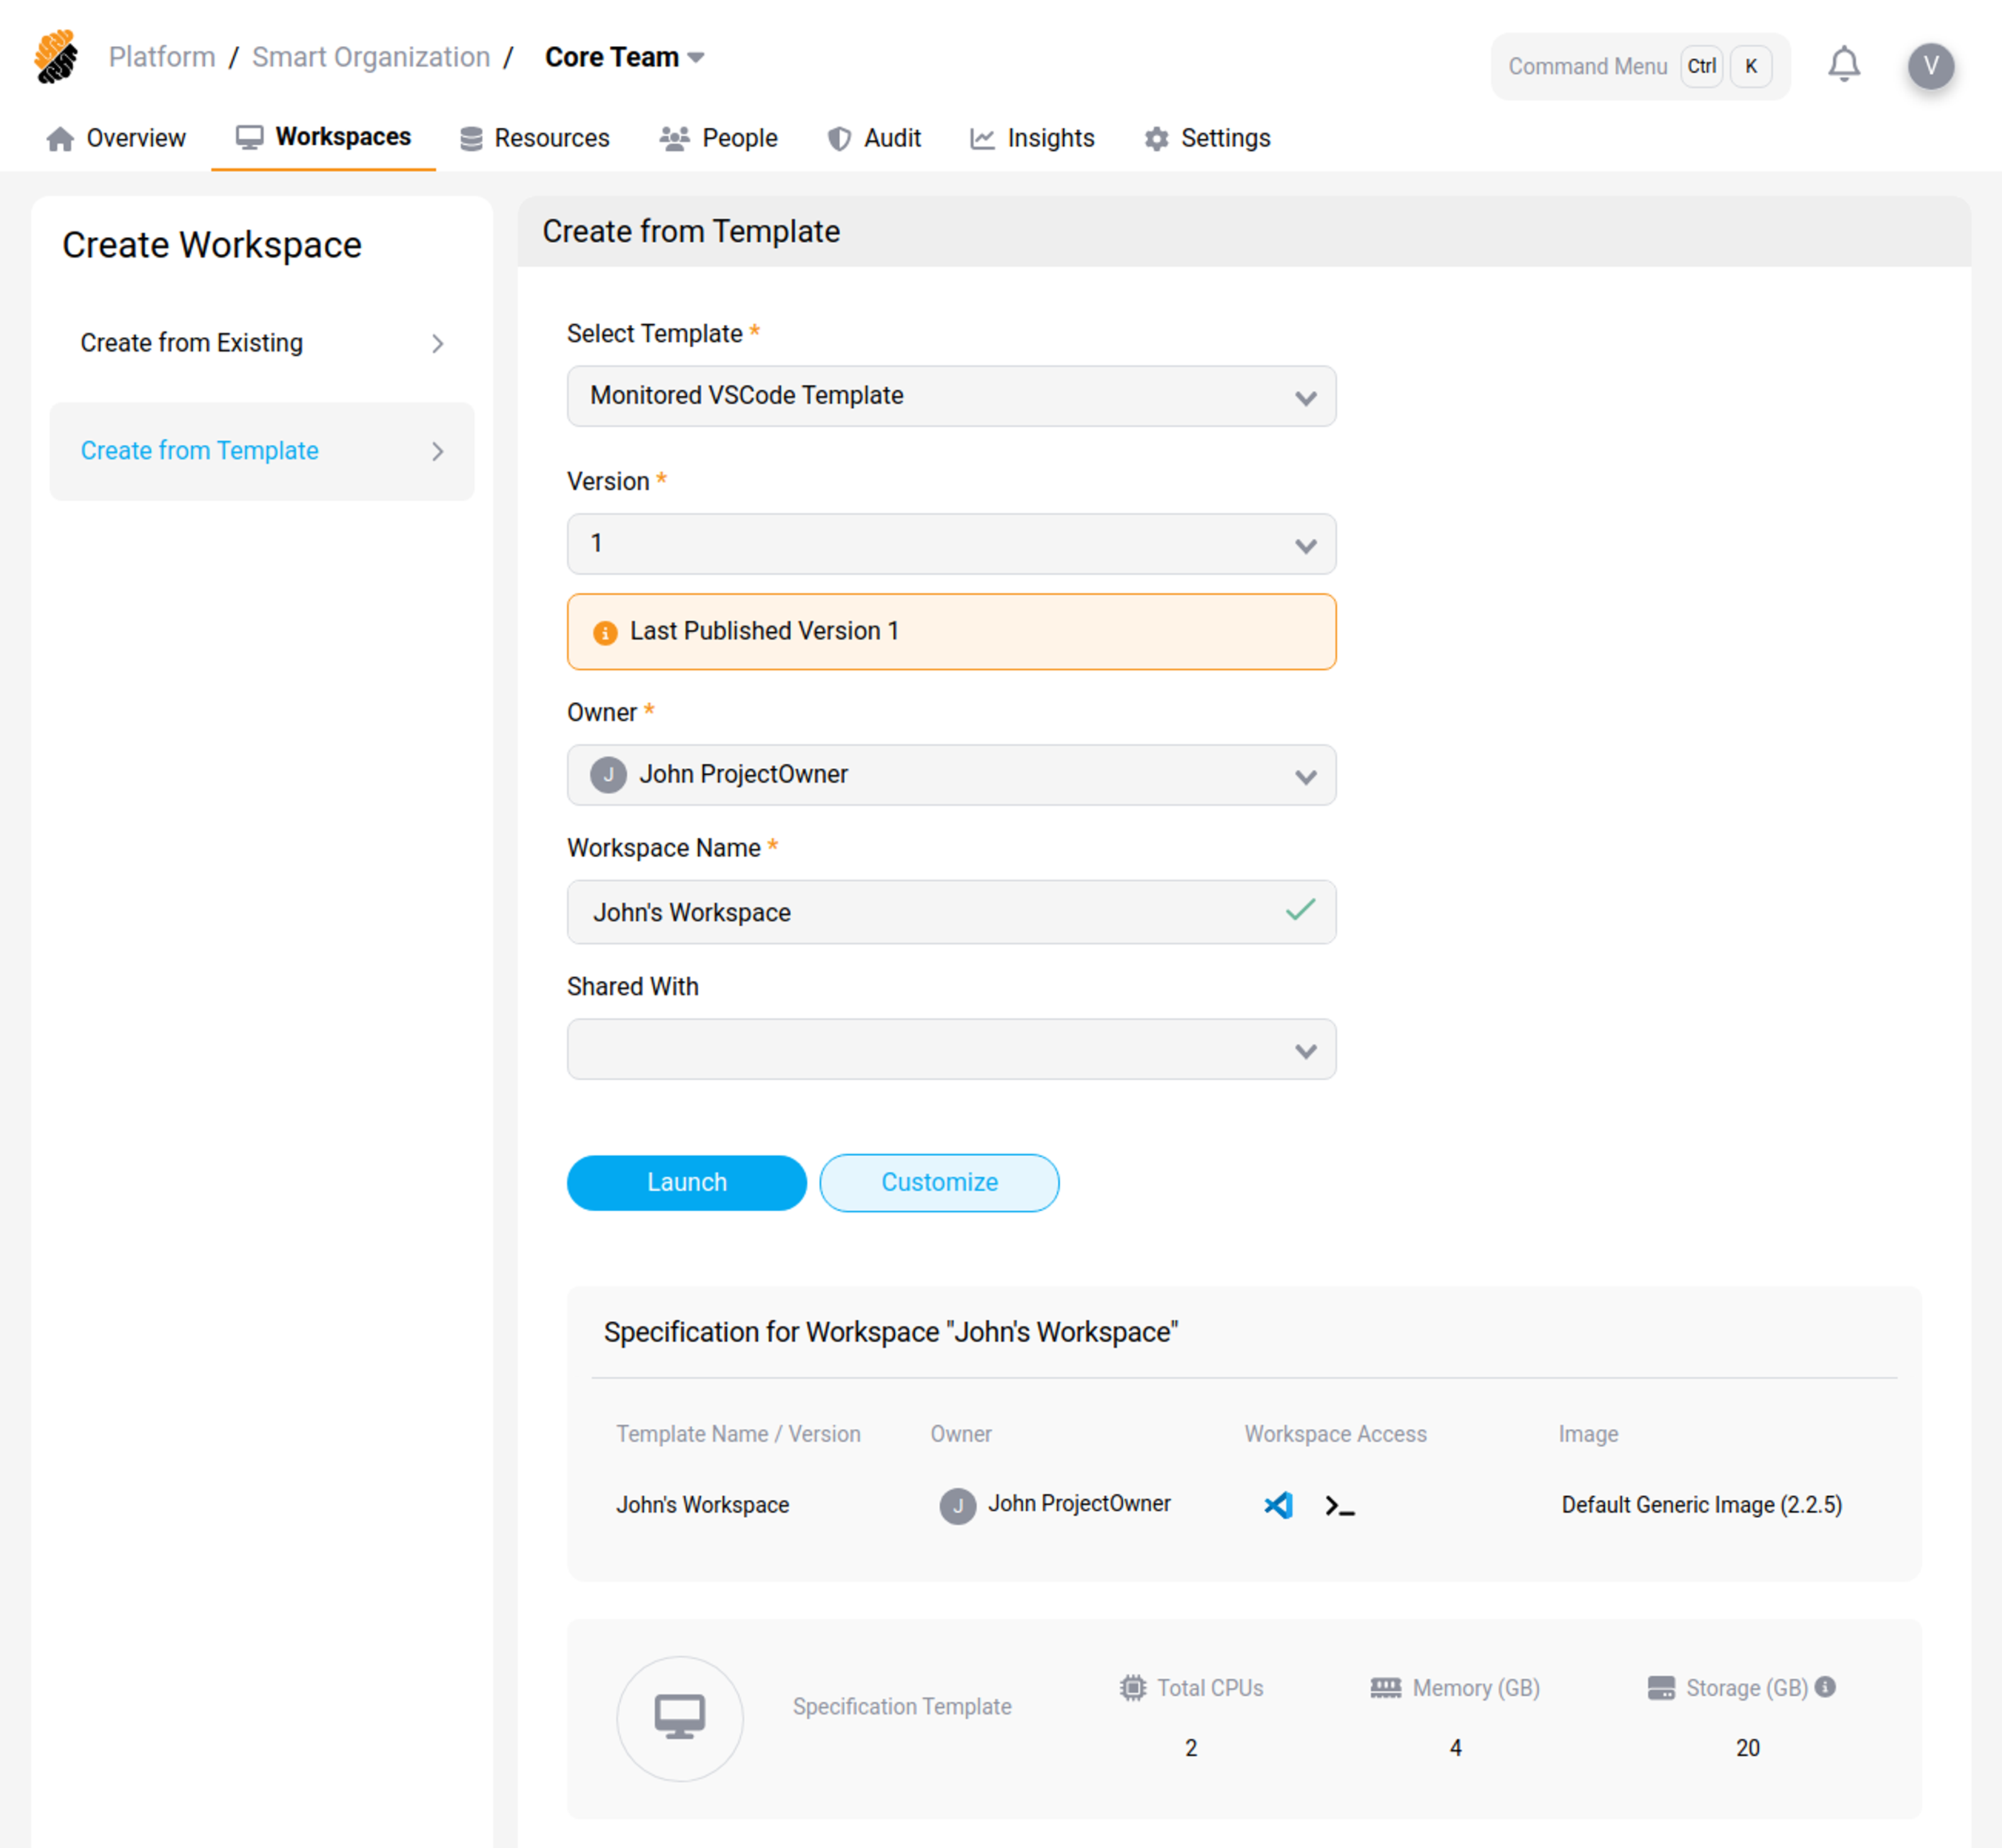 Workspace Creation Using a Template
2. Configure Workspace Settings (Optional)
Through the guided setup (the wizard), the developer can configure the workspace's general settings, which include naming the workspace, selecting a specification template, and adjusting sharing preferences. Additionally, the developer can establish access controls to their entitled resources, covering options for git repositories, applications, services, and secrets.
Implementing access control is not mandatory and can be addressed when the workspace is accessed for the first time.
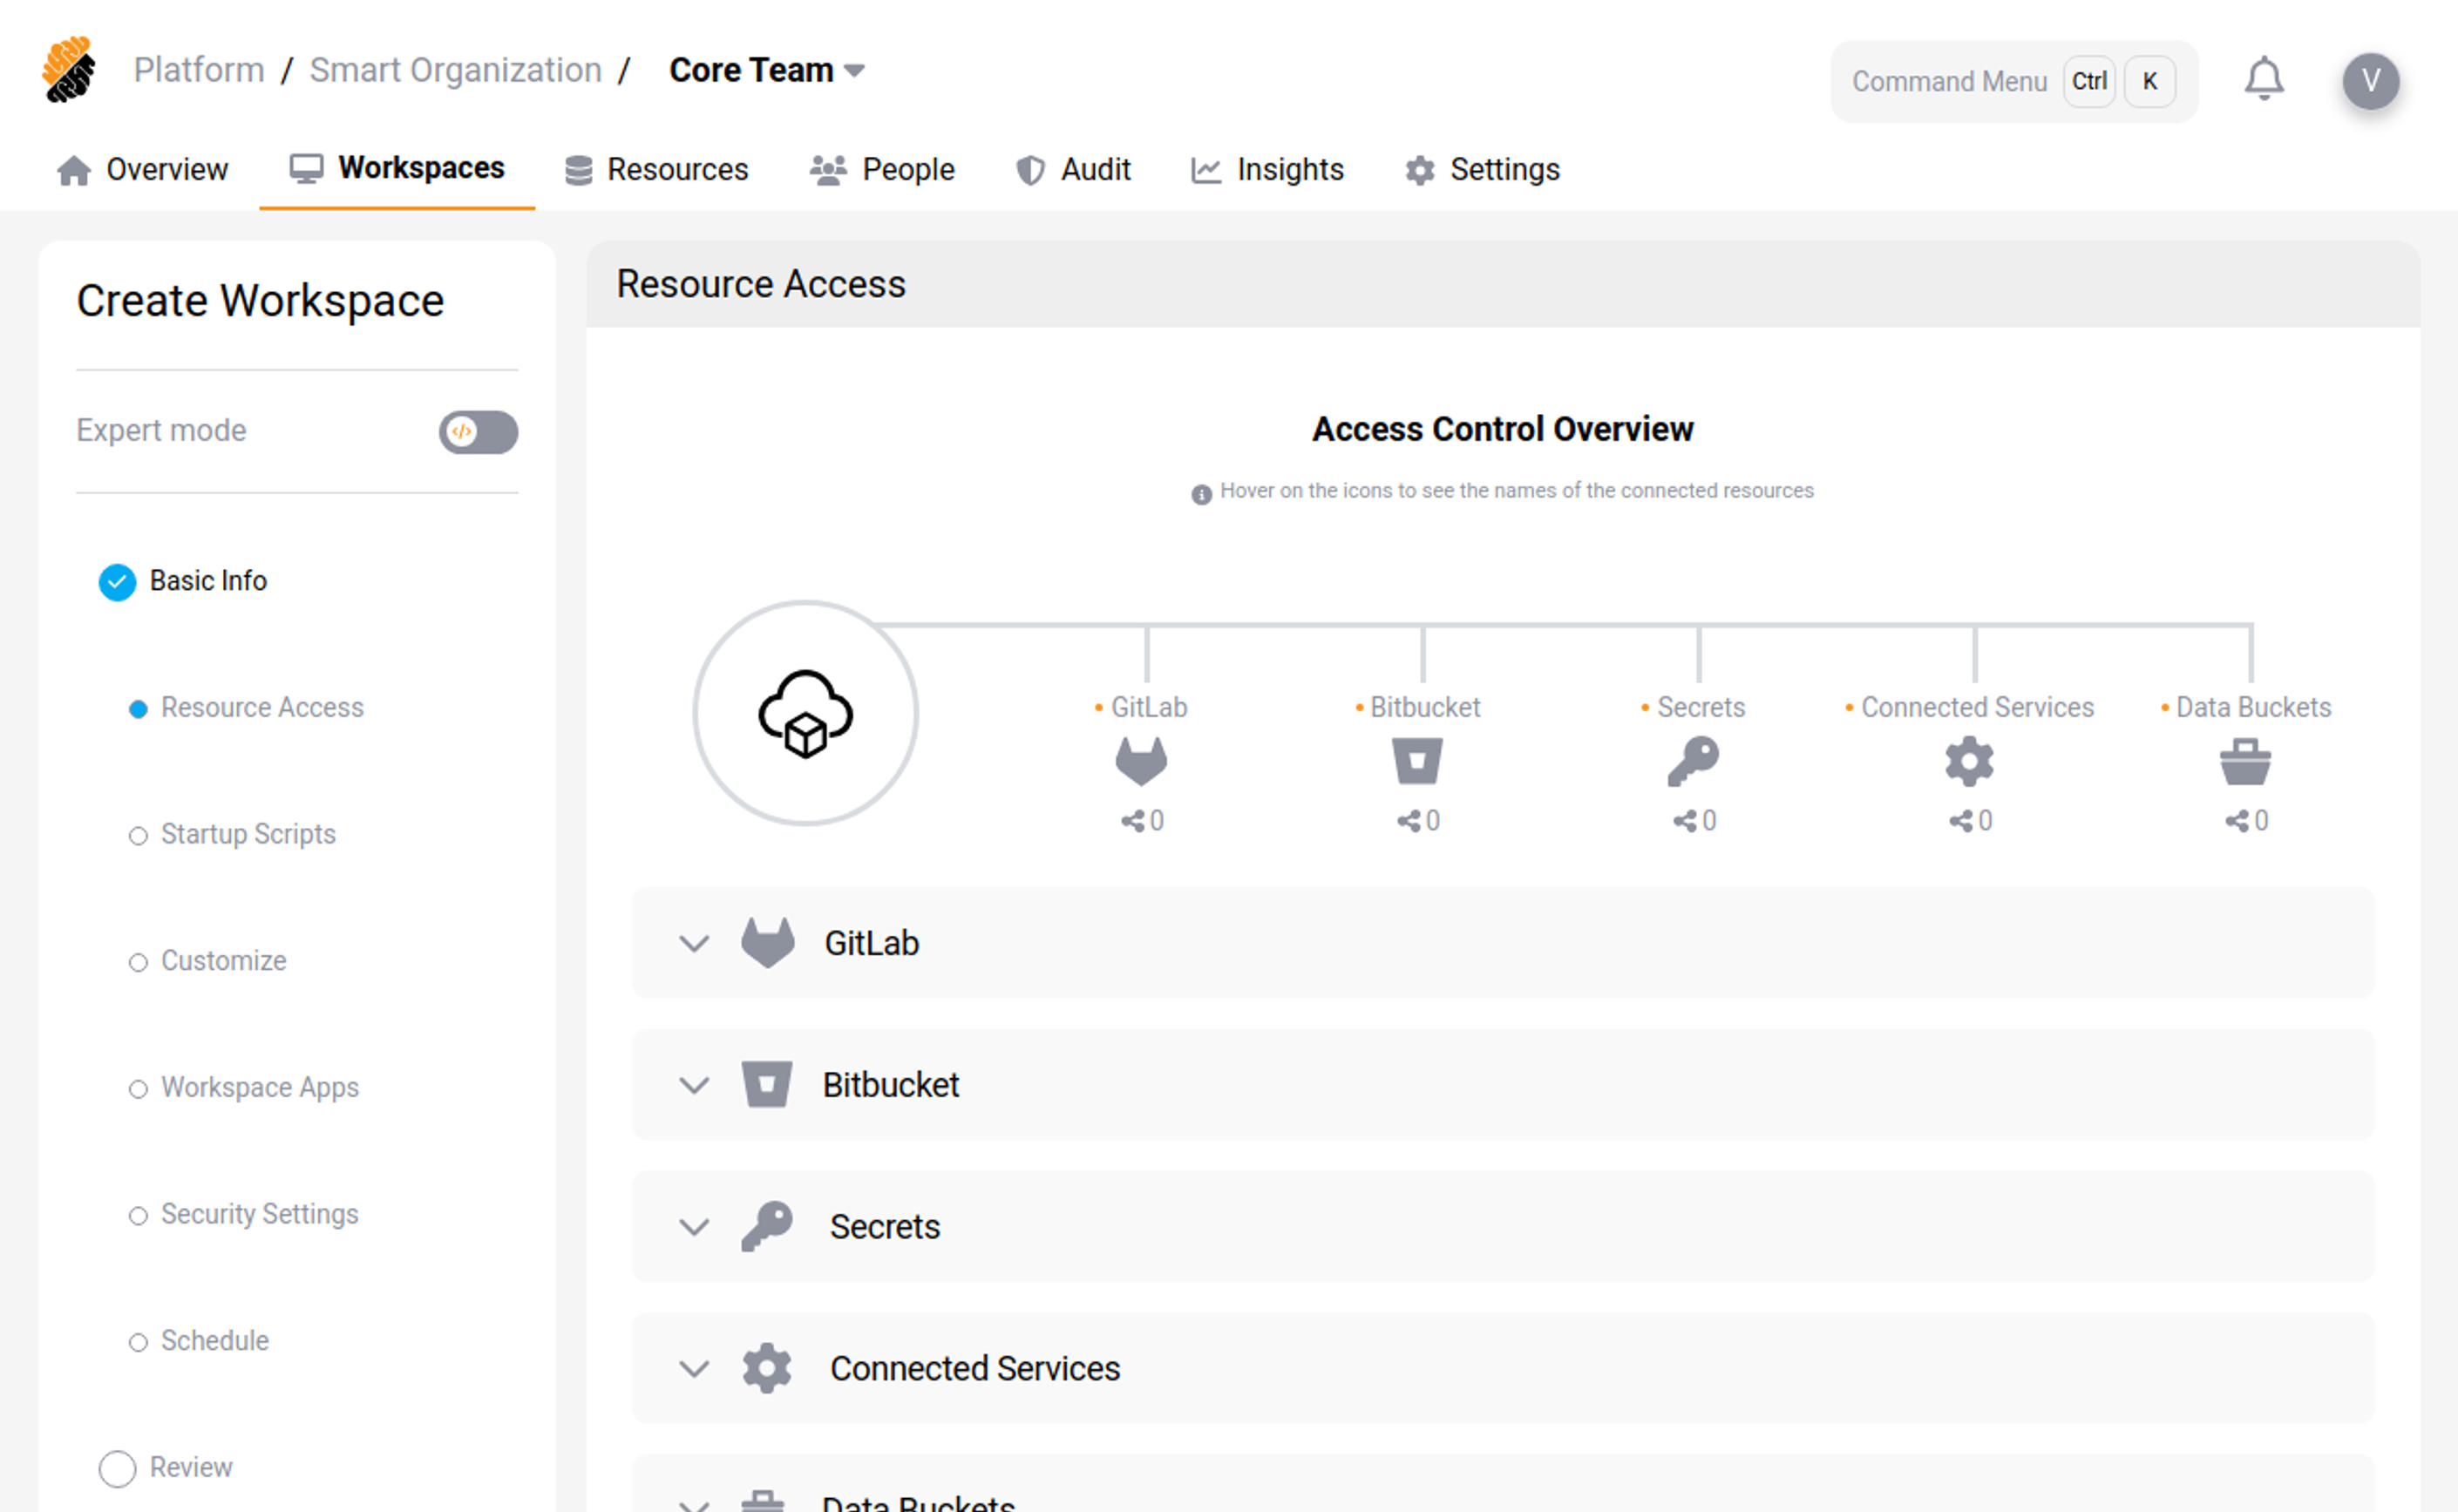 Workspace Wizard: Access Control Configuration
3. Access Workspace & Connect Platform Applications
When first accessing a workspace, the developer may employ the single sign-on feature to gain entry to one or more gate applications linked to the platform, contingent upon the applications made available by the administrator.
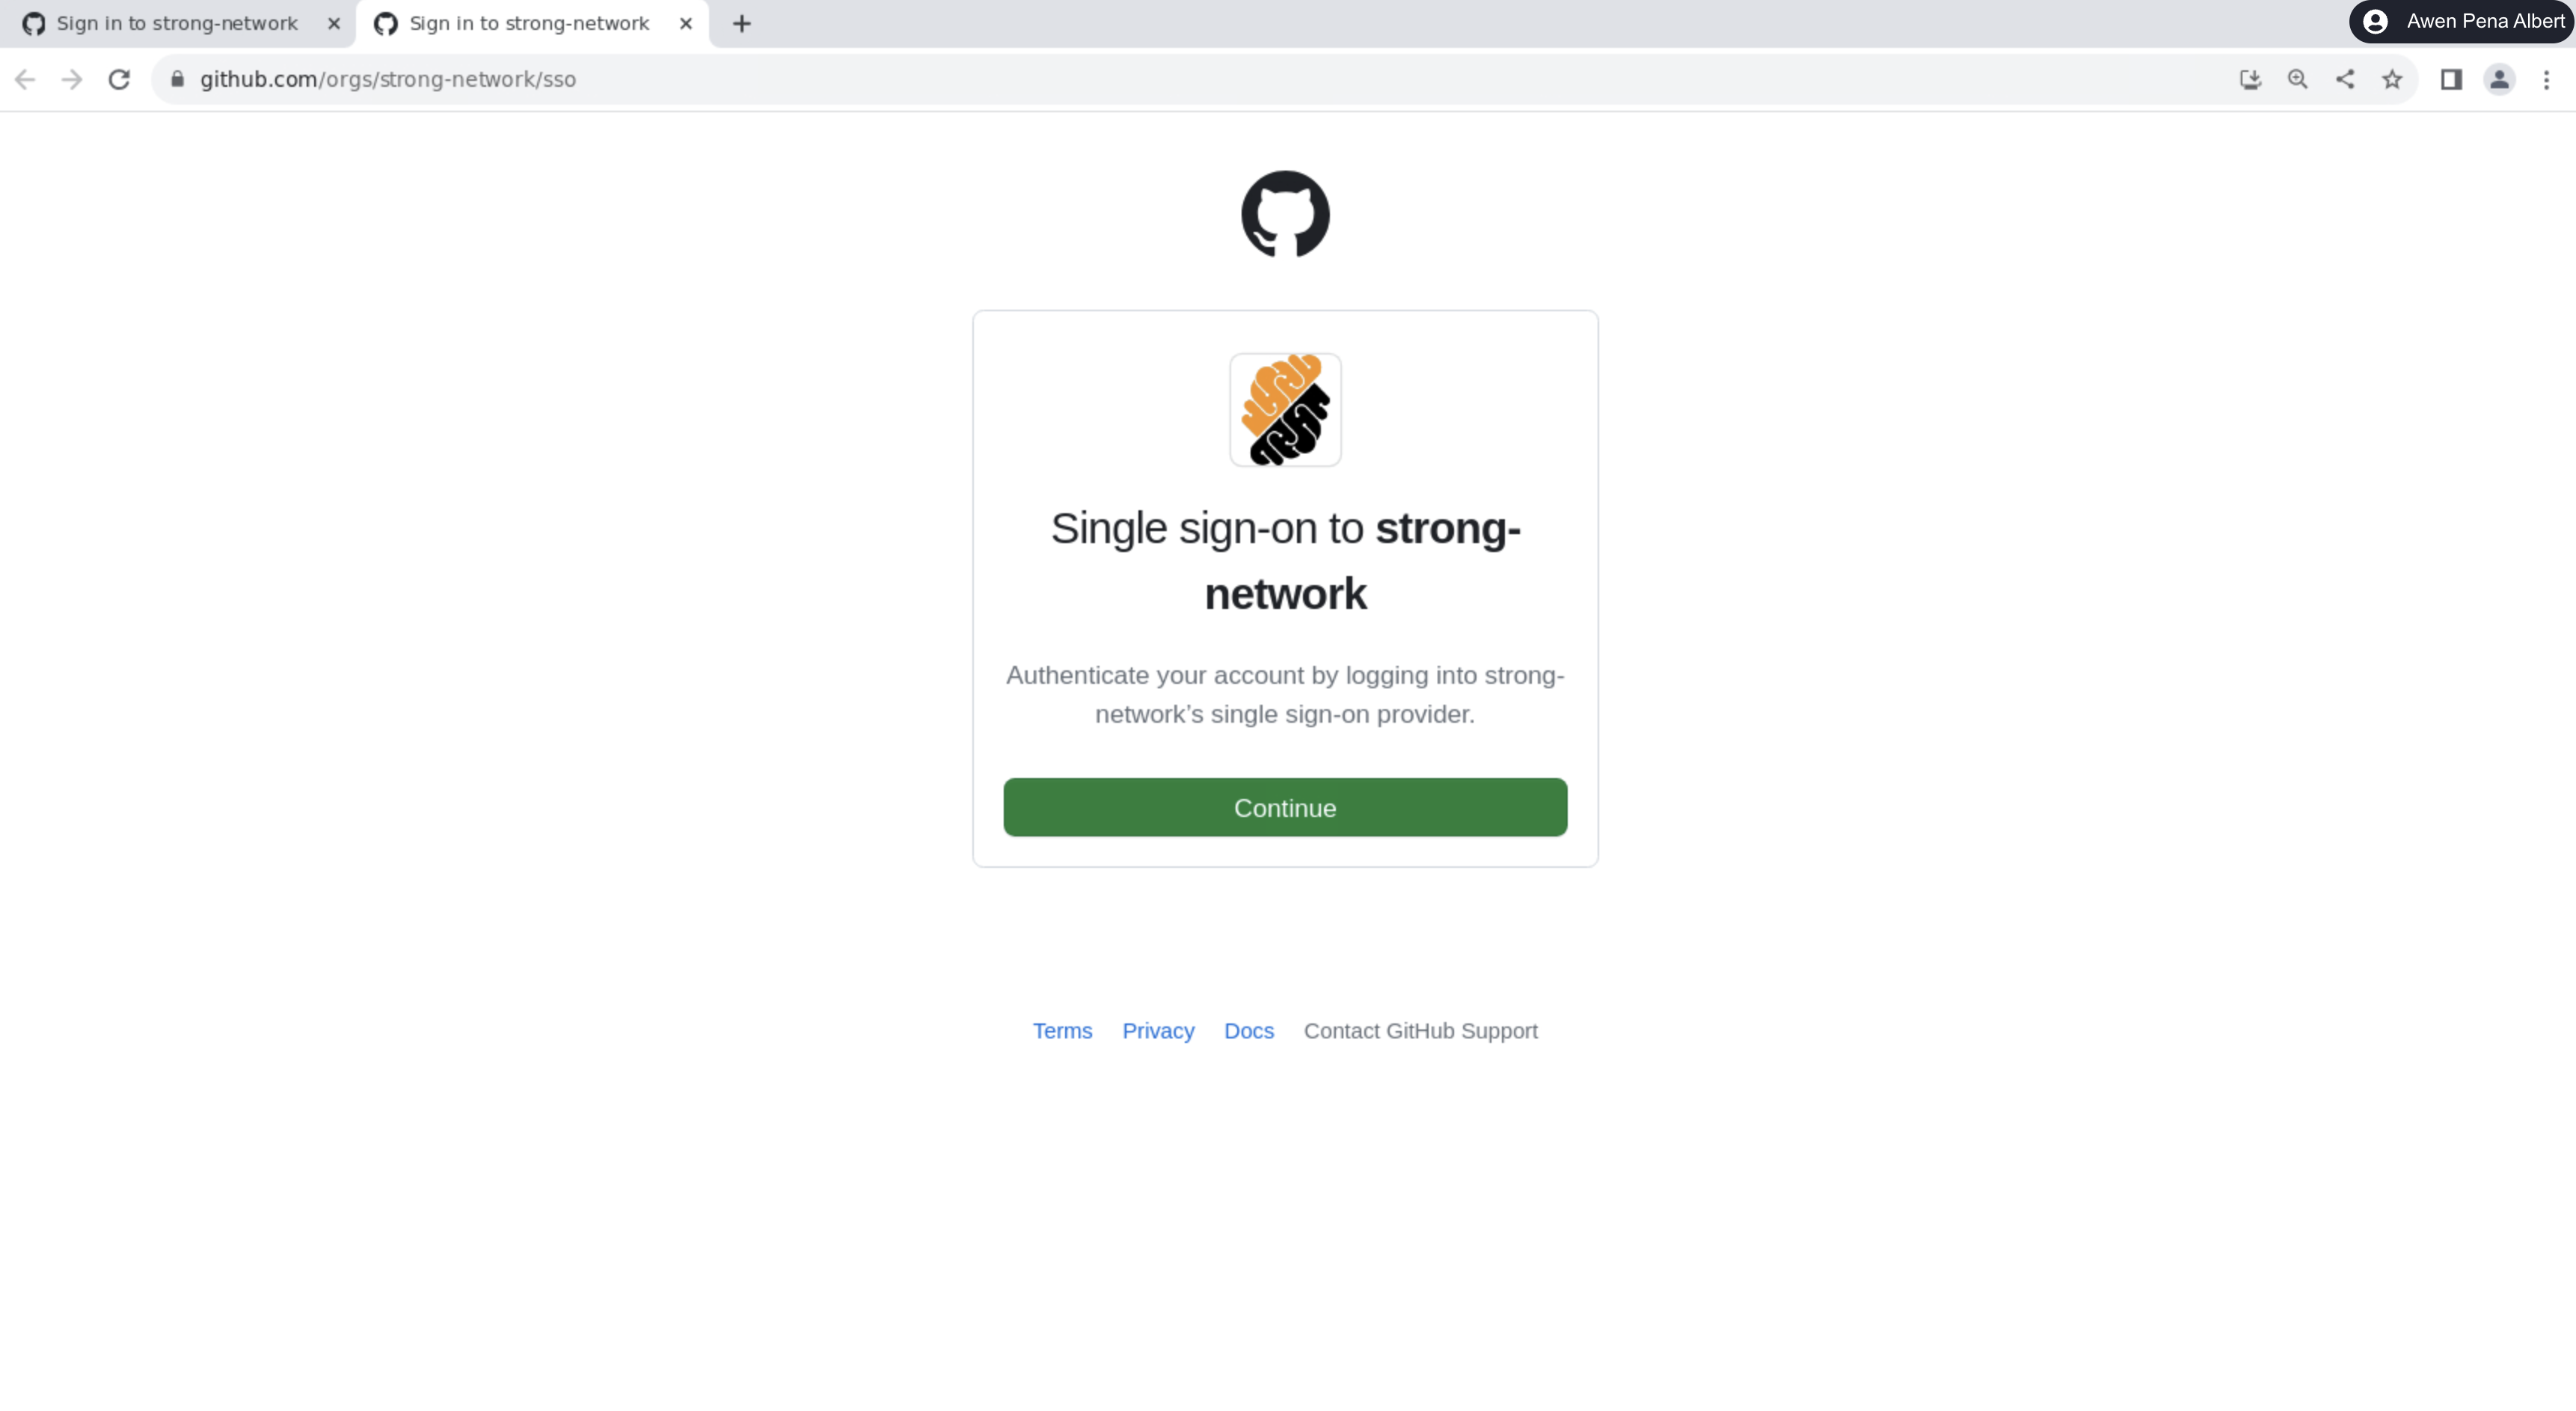 Connect Platform Git Application
4. Run, Open and Share Applications (Optional)
Once workspace access is secured, the developer is permitted to execute and, where authorized, access and share applications.
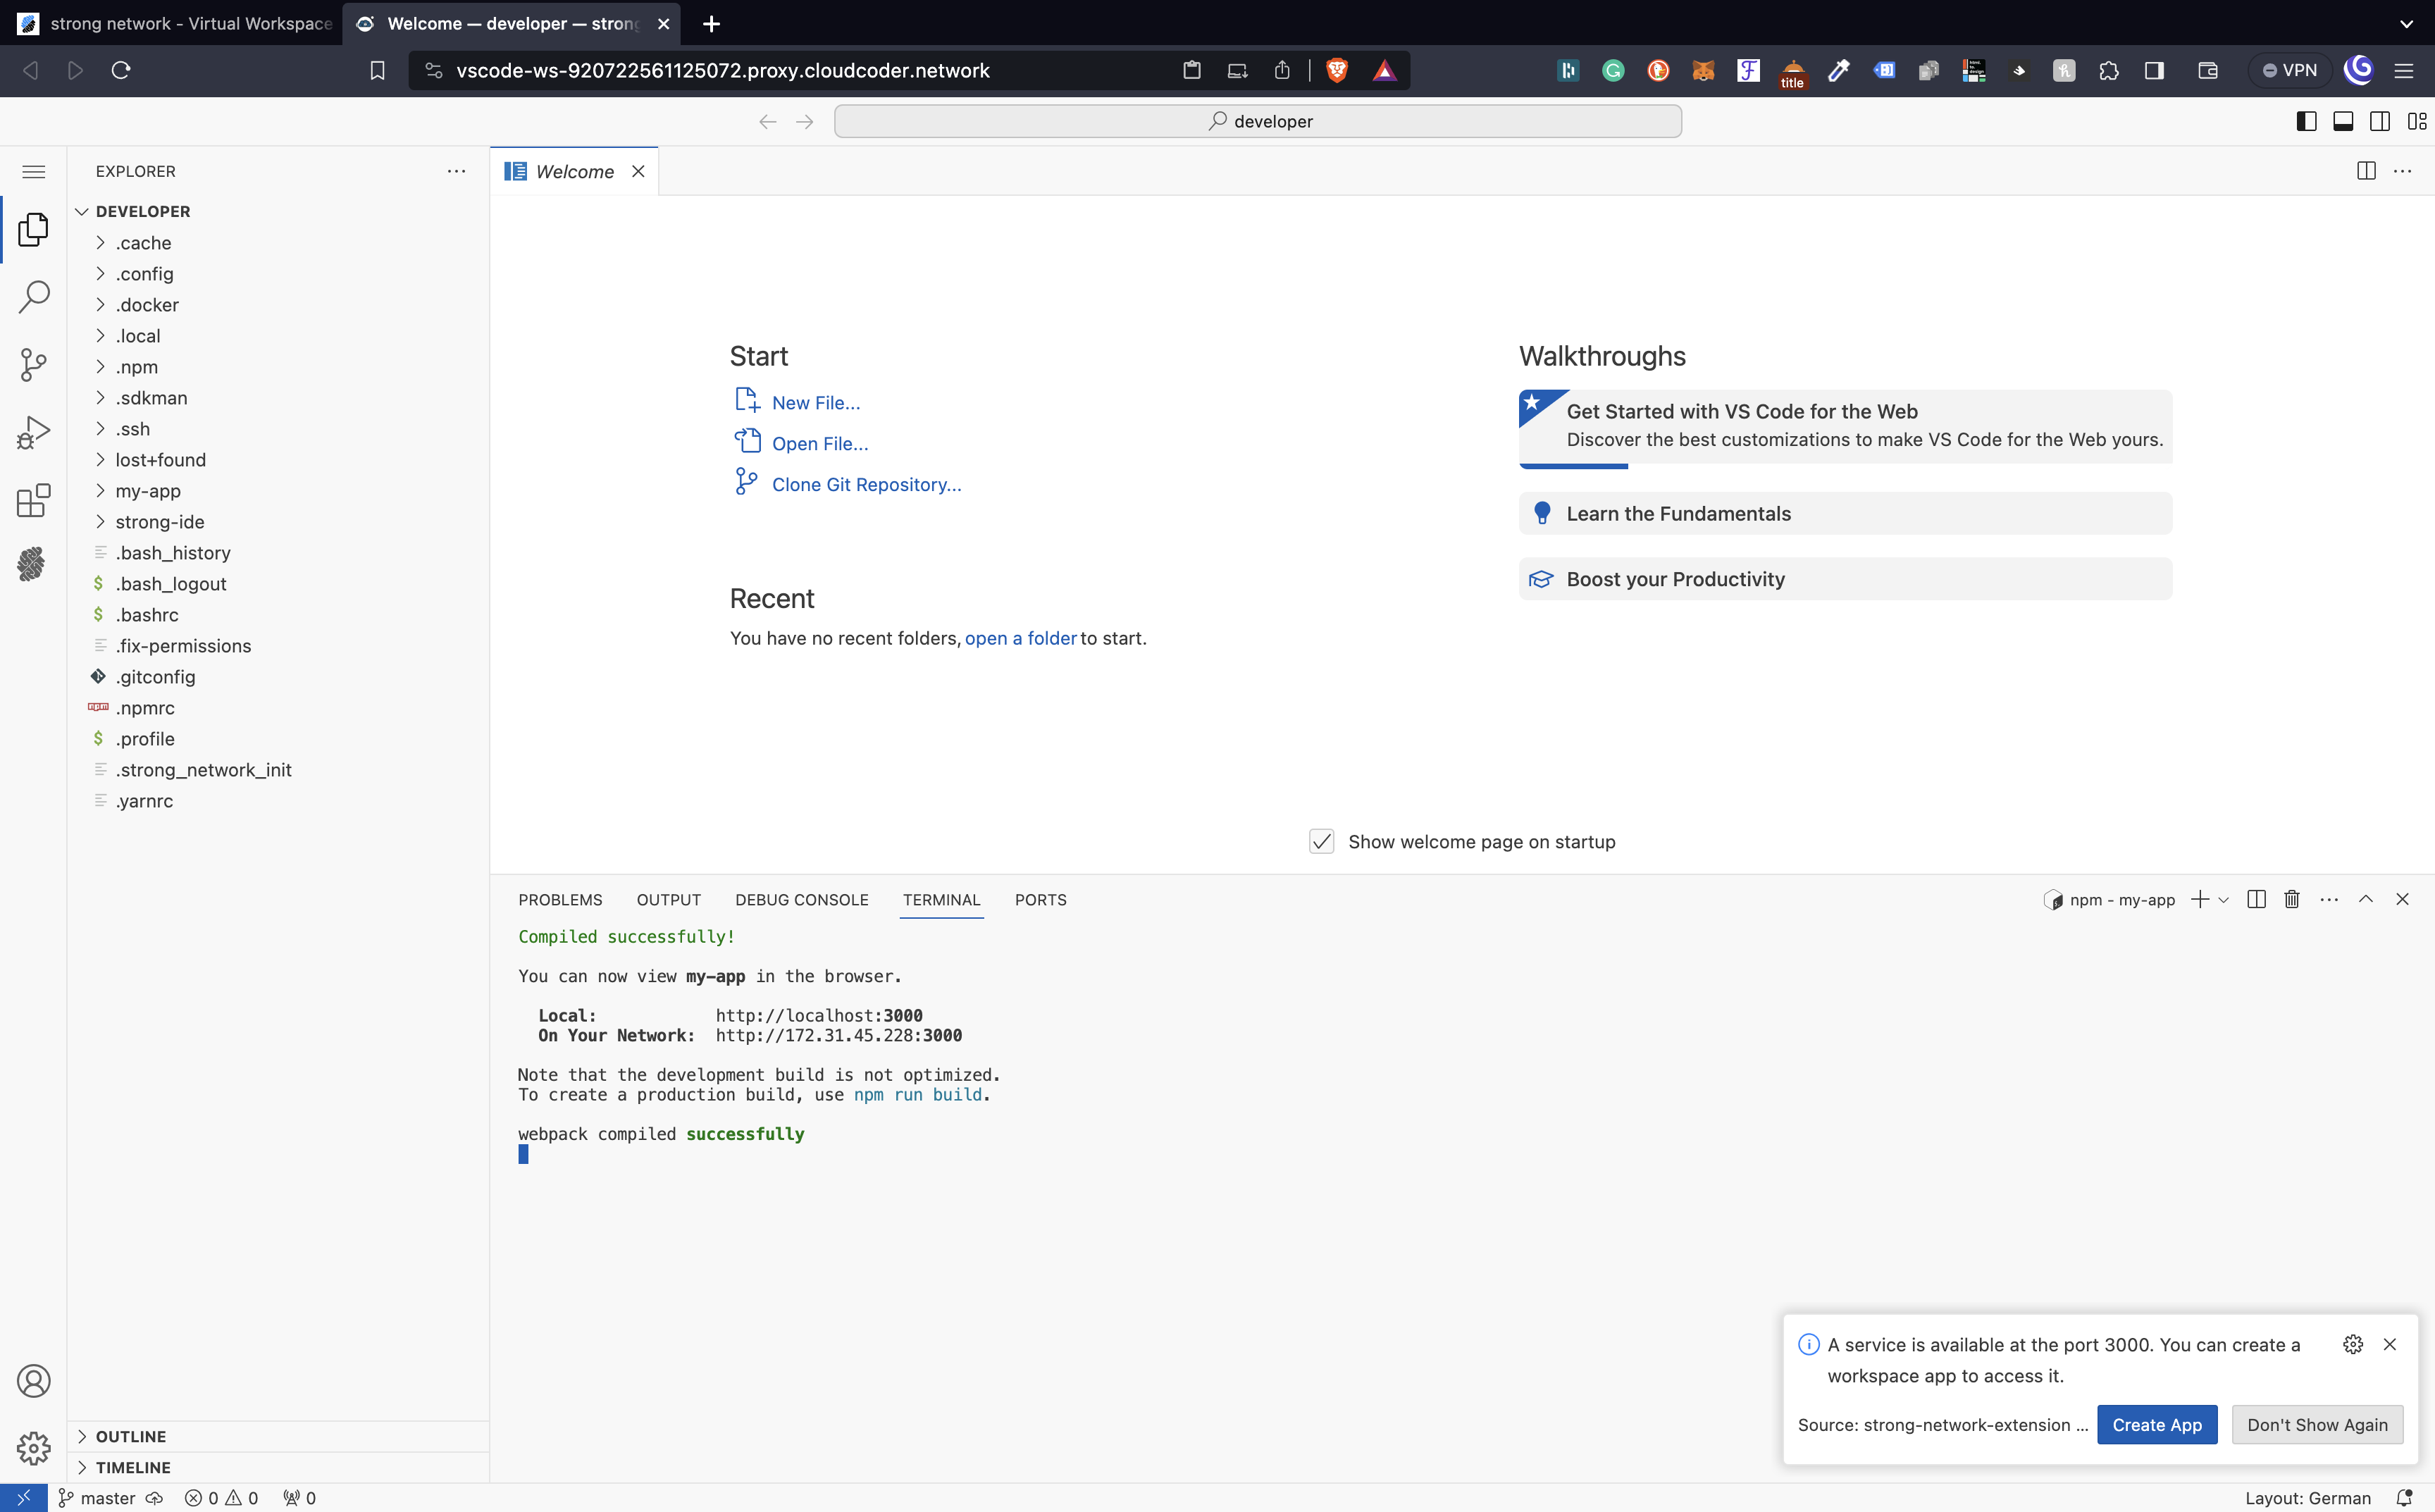 Application Running on a Workspace
